How to Replace Outside Aluminum Door Bottom Flaps?

Table of Contents

Replacing the bottom flaps on your aluminum door is a vital home maintenance task that offers numerous benefits, including better weatherproofing, improved energy efficiency, and pest prevention.

These bottom flaps help seal your door from water, wind, and insects, but over time, they can wear out or become damaged. In this guide, we will walk you through the process of replacing the aluminum door bottom flaps yourself, including the tools you need, step-by-step instructions, and tips for long-lasting results.

Introduction: Why Replacing Aluminum Door Bottom Flaps is Essential

Aluminum door bottom flaps serve as a key component in maintaining your door’s functionality. Not only do they provide weatherproofing against the elements, but they also prevent insects and pests from entering your home. Over time, these flaps can wear out, crack, or lose their sealing ability. Replacing them will enhance your door’s energy efficiency, prevent water damage, and keep unwanted pests out of your living space.

Why Bottom Flaps Are Important

The primary function of bottom flaps is to create a seal between your aluminum door and the ground. Without this seal, water, wind, and pests can easily enter your home. A worn-out flap will result in drafts, increased heating costs, and even water damage. By replacing your flaps, you restore your door’s protective barrier.

Cost Savings and Protection

Installing new aluminum door bottom flaps not only improves comfort but can also reduce your utility bills by keeping the interior temperature stable. With a better seal, your HVAC system won’t need to work as hard, saving you money in the long run.

Signs That Indicate It's Time to Replace Your Aluminum Door Bottom Flaps

Your door bottom flaps may not always show visible signs of damage, but several clues suggest it’s time for replacement.

Cracks, Tears, and Visible Damage

Inspect the bottom flap regularly for cracks, tears, or any visible wear. These signs often indicate that the flap has lost its sealing ability and is no longer protecting your home effectively.

Water Leaks or Dampness Around the Door

If you notice water pooling inside near your door after a rainstorm, the bottom flap may no longer be sealing properly. This could lead to water damage on your floors and walls.

Drafts and Cold Air

Drafts around the door are a sure sign that the seal is no longer working. If you can feel cold air entering through the bottom, replacing the flap will help restore the insulation.

Pests and Insects

Tiny gaps at the door’s bottom allow insects, rodents, and other pests to enter your home. A damaged or old flap may be the culprit, and replacing it will provide an extra layer of protection.

Tools and Materials You'll Need for the Replacement

Before starting, gather the necessary tools and materials for the replacement. Here’s a checklist of items you’ll need:

Essential Tools for the Job

  • Screwdrivers: You’ll need a flathead and Phillips screwdriver to remove screws.
  • Pliers: For removing any clips or nails that are holding the old flap in place.
  • Measuring Tape: Accurate measurement of the door width is essential to get the right size flap.
  • Utility Knife or Scissors: To trim the new flap to size.
  • Cleaning Supplies: Rags, mild detergent, and an all-purpose cleaner will help clean the area before installation.

Replacement Flap and Sealant

  • Flap Material: You can choose from rubber, plastic, or silicone-based flaps. Rubber is flexible and durable, while plastic is more rigid and resistant to wear.
  • Sealant or Adhesive: If necessary, you may need to apply adhesive or sealant to ensure a tight fit.

Step-by-Step Process for Replacing Aluminum Door Bottom Flaps

Follow these steps to replace your aluminum door bottom flaps:

Step 1: Removing the Old Flap

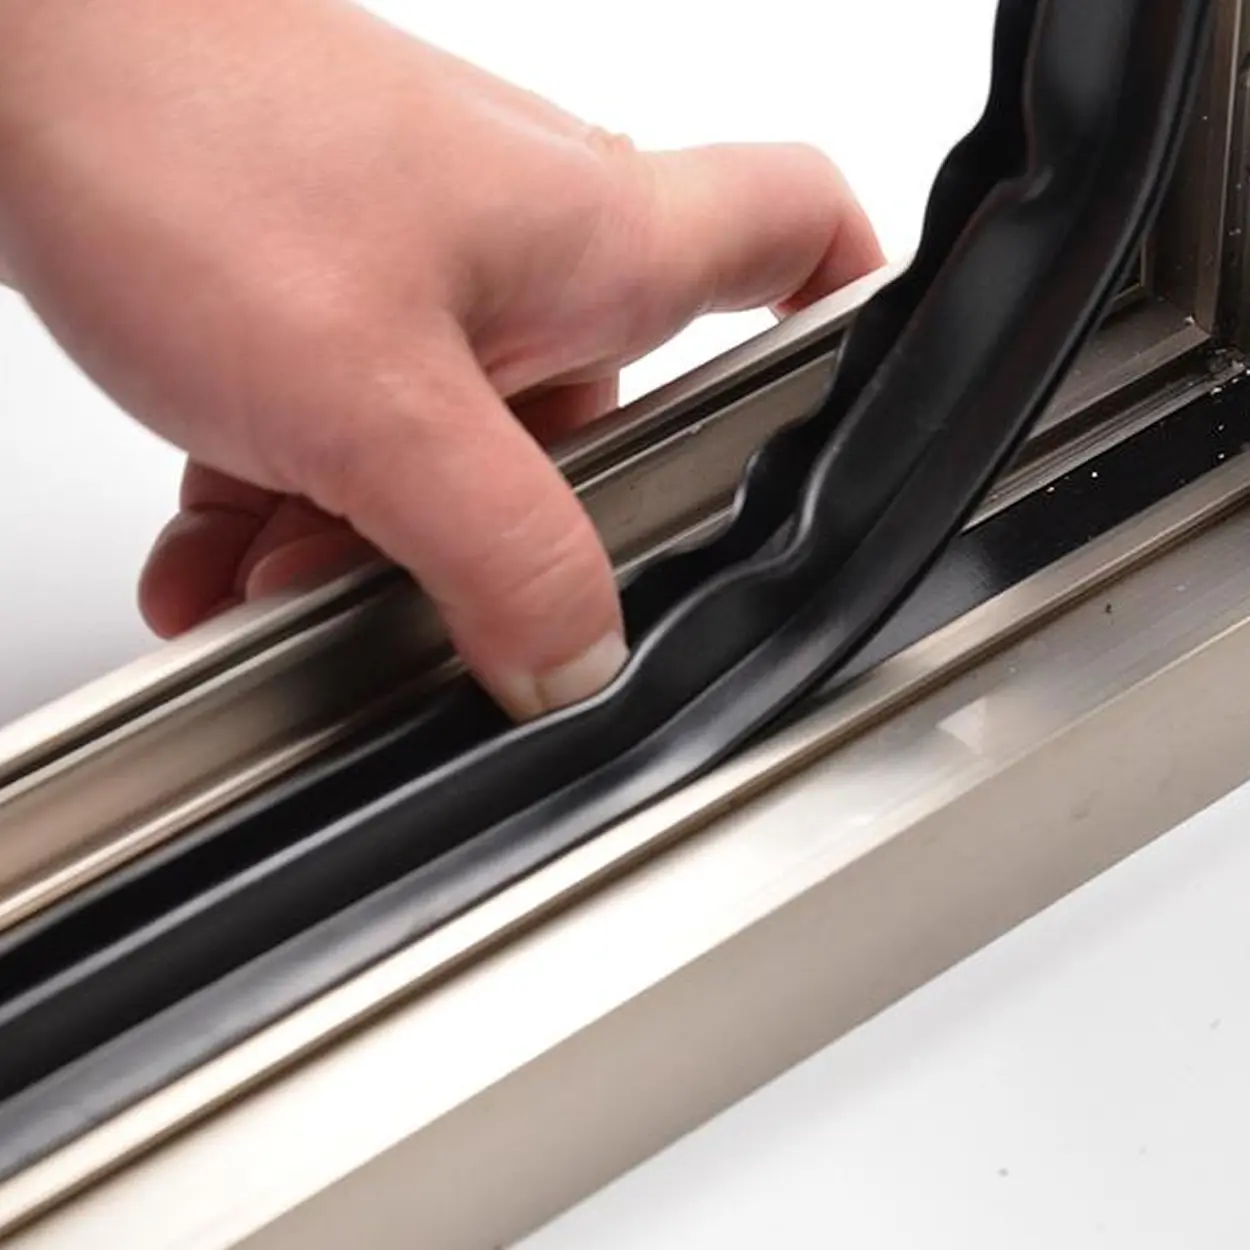
Start by inspecting how the old flap is attached. Use a screwdriver to remove any screws, or pliers for any nails or clips. If the flap is glued, apply heat to loosen the adhesive, then peel it off carefully.

Step 2: Preparing the Door Surface

After removing the old flap, clean the area thoroughly. Wipe away dirt, dust, or old adhesive with a damp cloth, ensuring the surface is smooth and dry before you proceed.

Step 3: Measuring and Cutting the New Flap

Measure the width of the door bottom using the measuring tape, then transfer this measurement to the new flap. If the flap is too large, use a utility knife to trim it to fit.

Step 4: Installing the New Flap

Align the new flap along the bottom edge of the door. If using screws, insert them evenly along the flap’s edge. If using adhesive, apply it to the back of the flap and press it firmly into place.

Step 5: Final Checks and Adjustments

Check that the flap is securely attached and sits flush with the door. Test the door by opening and closing it to ensure the flap doesn’t interfere with its movement.

How to Fix a Leaking Aluminum Door with New Bottom Flaps

If your door has been leaking water, replacing the bottom flaps is often the solution. Here’s how to fix it:

Step 1: Inspect the Seal

After installing the new flap, inspect the seal carefully. Make sure there are no gaps between the flap and the door. Gaps will allow water to seep through.

Step 2: Test with Water

Pour water along the bottom of the door and observe if it leaks inside. If it does, check the flap for misalignment or poor sealing.

Step 3: Add Extra Sealing

If necessary, apply additional weatherproofing materials, like silicone sealant, along the edges to further enhance the water resistance.

Choosing the Best Aluminum Door Seals for Weatherproofing

When choosing a new flap or seal for your aluminum door, consider these factors:

Flap Materials: Rubber, Silicone, or Plastic

  • Rubber Flaps offer excellent flexibility and sealing properties.
  • Silicone Seals provide superior waterproofing, especially for doors exposed to heavy rainfall.
  • Plastic Flaps are more durable but less flexible.

How to Choose the Right Seal for Your Needs

Consider your location’s climate and the amount of exposure to moisture and wind. Silicone may be better for wet climates, while rubber is great for areas with moderate weather.

DIY vs Professional Installation: Which Is Best for You?

While replacing aluminum door bottom flaps is a simple DIY task, there are scenarios where professional installation might be more suitable.

Benefits of DIY Installation

  • Cost-Effective: DIY is typically cheaper as you save on labor costs.
  • Convenience: You can complete the task at your own pace.

When to Hire a Professional

  • If you’re unsure about the measurements or the type of flap to choose, a professional can ensure that the job is done right.
  • If you encounter unexpected issues, like door misalignment, a pro will know how to address them.

How to Ensure Proper Installation for Maximum Efficiency

Proper installation is crucial for ensuring the new bottom flaps work efficiently.

Avoiding Common Mistakes

  • Ensure that the flap is cut to the correct size to avoid gaps.
  • Install the flap evenly across the bottom of the door to maintain a tight seal.

Adjusting the Flap for Maximum Effectiveness

Once installed, check if the flap creates an even seal along the door bottom. Make adjustments if necessary, such as repositioning the flap or applying extra sealant.

Maintenance Tips to Extend the Life of Your Aluminum Door Bottom Flaps

To keep your door flaps in good condition, perform the following maintenance tasks:

Regular Cleaning and Inspection

Periodically clean the flap to prevent dirt buildup and check for any signs of damage. A simple wipe-down will help maintain its sealing properties.

Seasonal Preparation

Before extreme weather conditions, inspect the flap and make any necessary repairs. For example, ensure the flap is free of cracks before the winter months.

Troubleshooting: Common Problems and How to Fix Them

If you encounter issues after replacing your aluminum door bottom flaps, here are some common problems and solutions:

Misalignment of the Flap

If the flap doesn’t sit evenly, adjust it by loosening the screws or repositioning it until it forms a proper seal.

Persistent Leaks or Drafts

If water or drafts continue to seep through, check the edges of the flap for gaps and seal them with extra silicone or weather stripping.

Conclusion

Replacing the bottom flaps of your aluminum door is a simple but effective way to improve your home’s energy efficiency, protect against water damage, and keep pests at bay. With the right tools and a little effort, you can complete the task yourself and enjoy a well-sealed, weatherproof door for years to come.

By following this step-by-step guide, you’ll ensure that your door performs optimally and continues to provide the protection you need.

Comments

Lorem ipsum dolor sit amet, consectetur adipiscing elit, sed do eiusmod Lorem ipsum dolor sit amet consectetur adipiscing elit, sed do eiusmod lorem ipsum
滚动至顶部

Onine Chat

We will reply to you in 20 minutes.